Tutorial: How to Make Your Own Homemade Candles
By The Aroma-Zone editorial team
Published on: Wednesday, August 10, 2022, Updated on: Wednesday, September 30, 2026
Whether to keep for yourself or give as a gift, this guide gives you everything you need to make your own candles at home, simply and quickly! Discover all the materials you need to make and personalise your candles just the way you like.
Contents
What are the different types of candles?
There are different types of candles that we’ll show you how to make:
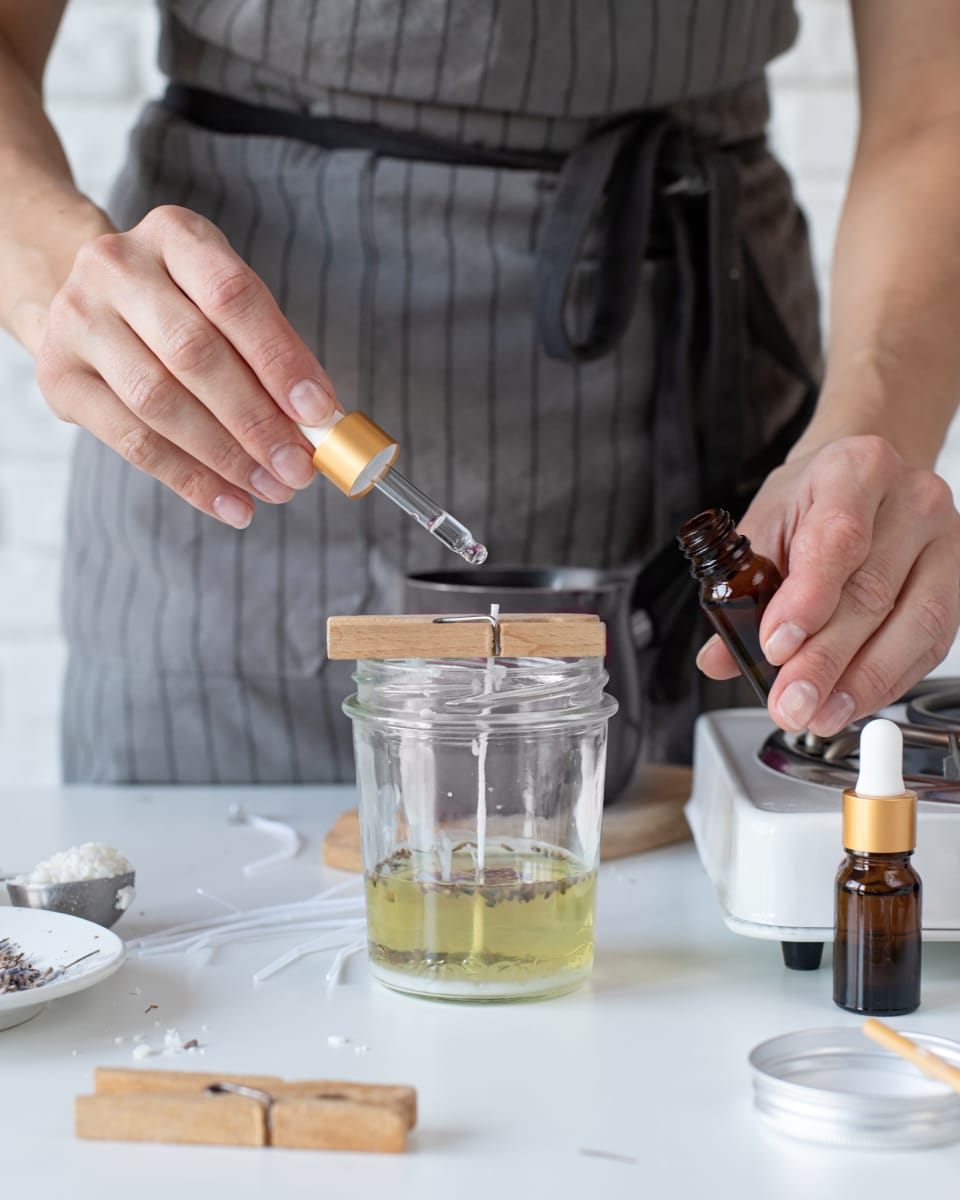
Poured candles (candle jars): The wax is poured into the container and burned right there. These candles are very easy to use.
Moulded candles (silicone mould): The uniqueness of these candles lies primarily in their varied shapes, which depend on the mold used. They are poured into a mould and, after unmoulding, used as is.
Ambience candles: Ambience candles are the most common type of candle. They are decorative and enjoyable items that create an intimate atmosphere.
Massage candles: Made primarily from low-melting-point wax, massage candles allow you to scoop out an oily base ideal for massage without burning yourself after extinguishing the flame. A two-in-one product!
Scented candles: These candles are infused with essential oils or fragrances specially designed to diffuse a pleasant scent throughout your space. They add a sensory touch to your ambience and can help create a relaxing or invigorating atmosphere depending on the fragrance you choose.
What’s in a candle?

Wax
Wax gives the candle its structure, and melts more or less quickly depending on its melting point
Oil phase
Vegetable oils and/or butters, on the other hand, help soften the waxes and make them easier to melt. Some oils also make excellent colourants.
Pigments / Dyes
Dyes from various sources (plant powders, vegetable oils, mother-of-pearl, etc.) add a variety of colours and shimmer to the candle.

Essential oils and natural fragrances
These are the scents that give the candle and the room a pleasant aroma. We will use essential oils and alcohol-free natural fragrances with a flash point above 65°C.
Ingredients in detail
What types of wax should you use?
Wax is the main and primary component of a candle. Today, there are three types of wax used in candle making: animal, mineral and vegetable waxes. With some waxes, it's necessary to add an oil or even butter to prevent issues with consistency or poor adhesion. Here are the characteristics of each type of wax:
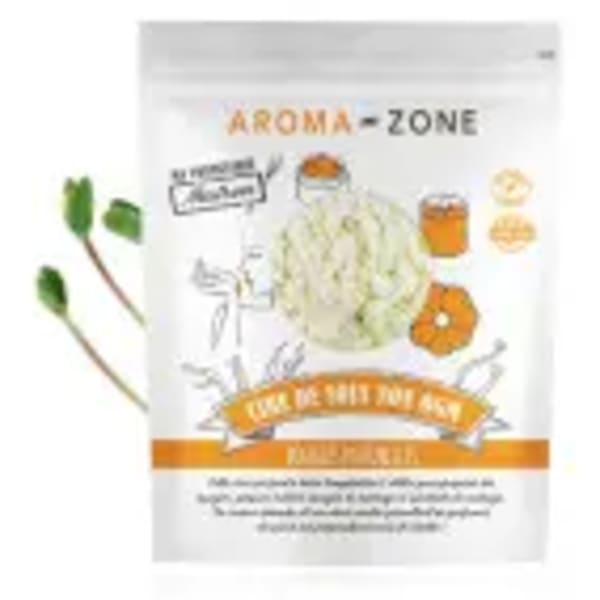
1 - Plant-based waxes
Soy wax is a low-melting-point wax; it stays cooler and is safer after being extinguished, making it perfect for massage candles as well as scented candles. Very easy to use, it requires no added oils or butters and can therefore be used on its own. Ideal for beginners in candle making!
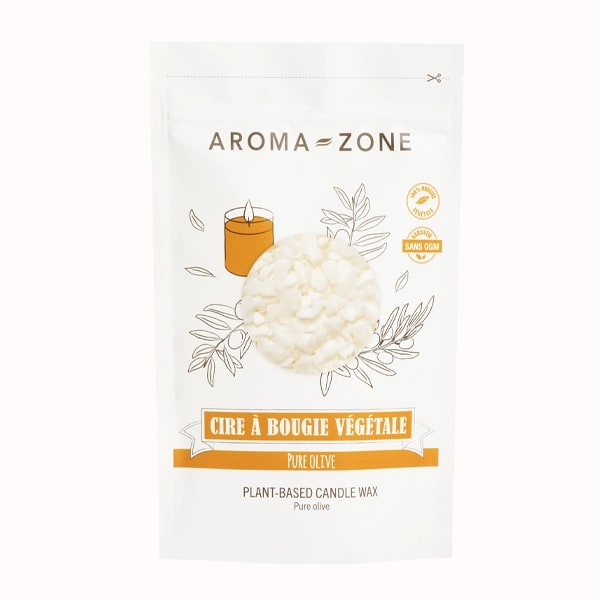
Pure Olive Wax is obtained during the olive oil production process. This 100% plant-based wax is ideal for easily making your candles, whether moulded or poured. Produced from olives harvested around the Mediterranean basin, this wax doesn't give off unpleasant odours and doesn't crack!
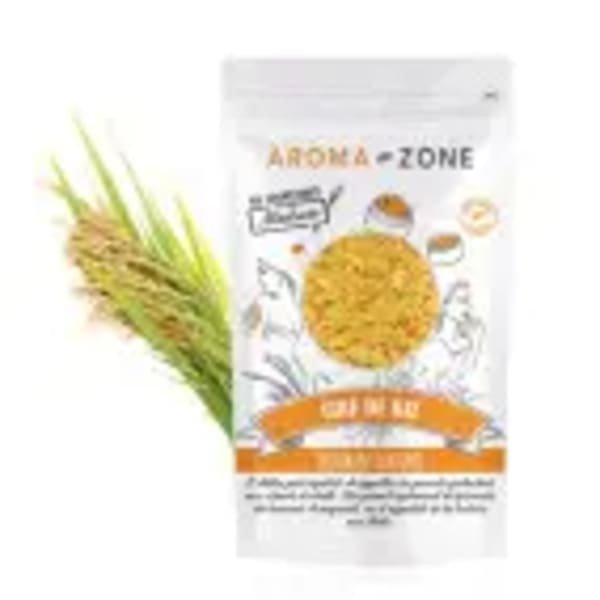
Other plant-based waxes can be used, but only in combination with plant oils, butters and/or soy wax: mimosa wax, rice wax and stearic acid. They are ideal for hardening candles and making them last longer. They are poured into containers and can be used in moulded candles.
2 - Animal-based waxes
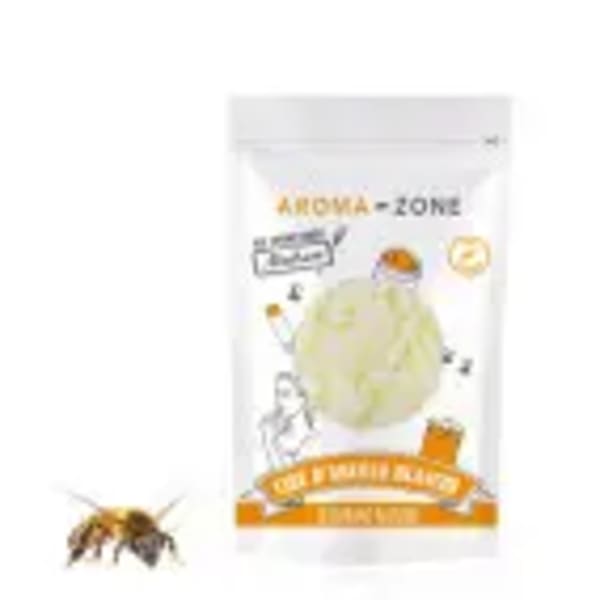
Beeswax, prized for its natural look and slow burn, can be used to make homemade candles. It blends perfectly with essential oils, adding a subtle hint of honey to your aromatic creations. To use it, mix it with a vegetable oil at a ratio of at least 10 to 20% to prevent shrinkage. This wax is poured directly into the container of your choice, resulting in traditional candles with the delicate, natural scent of honey. It is recommended not to use a mould for this type of wax, in order to preserve its authentic character and unique texture.
What types of vegetable oils and butters should you use?
Unlike waxes, oils and butters are used to soften the candle, lower its melting point, and thus make it easier to melt. They allow for better adhesion to the container, resulting in a smooth and shiny surface. We recommend choosing a vegetable oil or butter based on:
Scent (vanilla or hazelnut oil can add a subtle scent to your candle)
Colour (some oils can naturally colour your candle)
Cost (an oil or butter that is too expensive is not worth it for this type of product)
Oxidative potential (avoid oils that are highly susceptible to oxidation)
Benefits for the skin (if you are making a massage candle)
The exact proportions of oils or butters to use depend on many factors (type of wax, type of additives you use, etc.). Generally speaking, the proportion of oil or butter should not exceed 50%. Be careful, however: the more oil or butter you add, the more likely the candle is to burn down quickly. You will need to conduct tests to find the formulation that works best for you.
Which natural dye should you choose?
We recommend natural alternatives to chemical dyes to create beautiful, colourful candles:
Coloured vegetable oils: Buriti will add an orange color, St. John's Wort will add pink, and Avocado or Calophyllum will add green tones to your candle
Coloured essential oils (to be combined according to flash point) Blue chamomile: blue candle
Colouring plant powders (to be used in maceration) Choose Urucum: orange candle; opt for turmeric for a neon yellow candle. The Black Henna will give your candle blue-green tones, and the Egyptian Henna or Nettle will add a touch of khaki green.
Tea bag (pale yellow, pink, or green depending on the tea). Ex: Citrus: yellow candle / red berries: pink candle / green tea: green candle
Aroma-Zone Tip
1 - If you want to decorate your candle with mica only on the outside
Apply a colourless vegetable oil to the candle using a brush or your fingers. Place your mica powders on a spatula or the tip of a knife, then blow them toward the candle to decorate it as evenly as possible.
2 - If you want to make a macerate from the plant powders recommended above:
Place the plant powder directly into hot vegetable oil (90 to 100°C), let it macerate for 15 minutes in a double boiler, then strain using filter paper. This is the best method for achieving the most vibrant colours.
We recommend always making your plant macerations at a 10% concentration (i.e., for a 30-gram poured candle: 3g of plant powders to 30g of vegetable oil). After filtering, use only the amount specified in your recipe.
If you do not wish to add oil to your candle, you can prepare your own “powder pouch” similar to a tea bag using filter paper tied with string. Then let it steep in the hot wax for 15 minutes in a high-temperature water bath (90–100°C). The resulting colours will be more pastel. In this case, double the amount of wax in the recipe, as the filter paper will absorb a significant portion of it.
The higher the concentration of coloured vegetable oil in your candle (e.g., 50% coloured oil), the more vibrant the colours will be. With lower concentrations of coloured oil, you'll achieve the same shades but in softer tones.
Fragrances & Essential Oils
In natural candles, the scent comes mainly from essential oils and/or natural cosmetic fragrances. However, be sure to follow the technical specifications for each ingredient and always check its flash point, which must be above 65°C to prevent your candle from catching fire across its entire surface. In this regard and for safety reasons:
Any substance containing alcohol must be avoided. Aromatic extracts and certain cosmetic fragrances (“Lemon Tart” and “Sublime”) are not recommended for use in candles.
We recommend using a maximum of 5–10% total fragrance and/or essential oils in your candles.
It is possible to use an essential oil with a flash point below 65°C; however, it must be mixed with another essential oil or fragrance with a flash point above 65°C so that the average flash point is exactly 65°C (be sure to calculate the flash point proportionally based on the concentration of the desired essential oils).
You will find the flash points of essential oils and cosmetic fragrances on their respective technical data sheets. However, here is a short list of essential oils and fragrances that you can use safely (flash point >65°C):
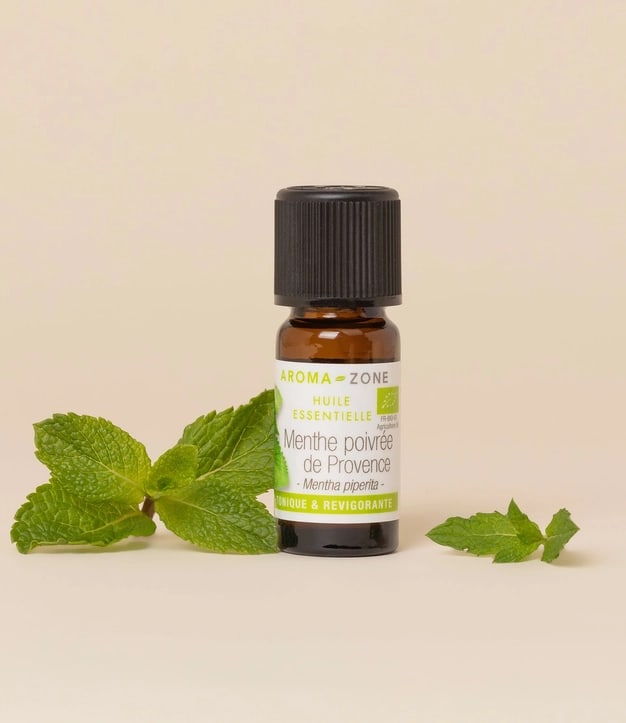
Essential oils
Pink berries, Tropical basil, Guaiac wood, Ho wood, Rosewood
Cade, German chamomile, Chinese cinnamon, Cinnamon bark, Cinnamon leaves, Atlas cedar, Virginia cedar, Lemongrass, Combawa, Copahu, Blue cypress
Wintergreen, Fragrant Wintergreen, Bourbon Geranium, Egyptian geranium, Clove buds, Clove leaves
Spike lavender, French fine lavender, True Bulgarian Lavender, Lavandin grosso, Lavandin super, Lemongrass, Lemon verbena, Lovage
Manuka, Lemon Balm, Lemon Mint, Field mint, Peppermint , Myrrh, Lemon myrtle
Choosing the Right Wick
Choosing the right wick is essential; this choice determines how the candle behaves when burning, preventing the formation of a hole, a candle that burns too quickly, or one that goes out…
At Aroma-Zone, we offer two types of wicks for making your candles: wooden wicks and cotton wicks.
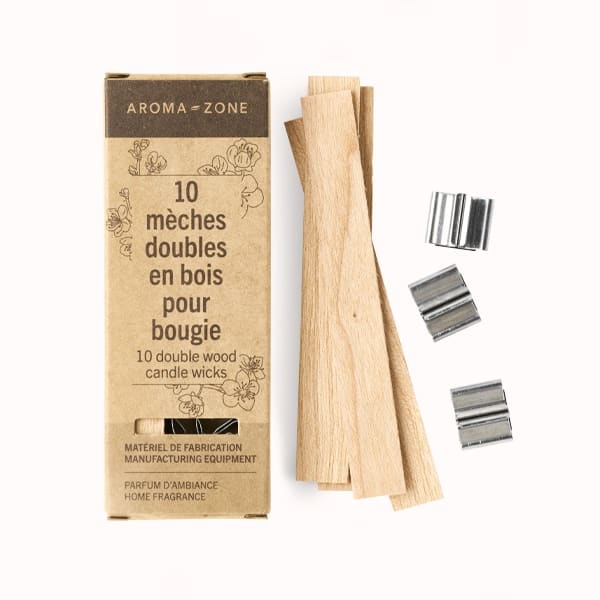
Wooden wicks allow you to make “crackling” candles. Our cherry wood wicks, sourced from sustainably managed forests, are pre-split to ensure better burning.
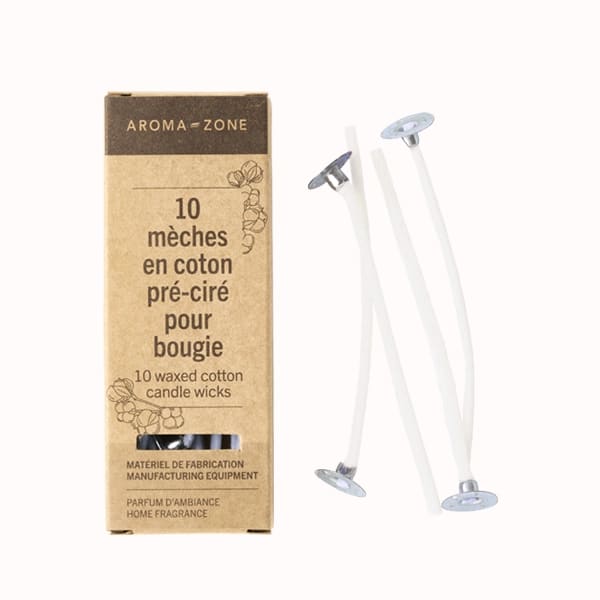
Cotton wicks are made from natural cotton, pre-coated with soy wax, and are directly attached to their metal base. They offer a stable, long-lasting burn without black smoke.
These two types of wicks are easier to use because they’re ready to use and don’t need to be waxed beforehand or cut to size. If you’re more comfortable with crafting, you can also check out one of our candle kits:
Our Candela kit includes a 90 cm long cotton candle wick and 10 metal holders to make candles in the sizes of your choice.
Our Cupito kit includes a 120 cm long cotton candle wick and 20 metal holders.
Please note that for both of these kits, the wicks are not pre-waxed and therefore need to be waxed when making your candle.
Make your candle step by step
Gathering your supplies
To ensure your candle-making workshop goes smoothly, we recommend preparing all the materials you’ll need in advance. Important: Be sure to thoroughly clean your equipment by boiling it for 10 minutes to ensure all bacteria are eliminated. Once cleaned, let it dry completely before starting your workshop. You’ll need:
"Candela" candle jar - Large size
Mini whisk or stainless steel spatula
Precision scale
1 wick of your choice
1 cotton wick
1 base
Aluminum foil
Filter paper
Silicone molds: "Heart," "Round," "Snowflake," "Starfish"
This equipment is available on Aroma-Zone on the "Cosmetic Manufacturing Equipment" page.
Making the candle
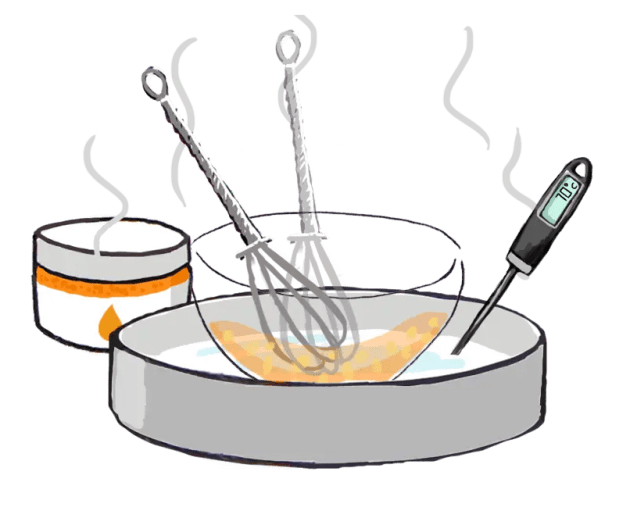
1 - Melt the wax
Melt the wax(es) in a double boiler over low heat, then remove from the heat.

2 - Prime the wick (If you don’t have a pre-waxed wick)
To do this, dip the pre-cut cotton wick into the melted wax for 2 minutes. Remove the cotton wick and place it on aluminum foil.

3 - Shaping the wick (If you don’t have a pre-waxed wick)
Shape the wick so that it adheres as well as possible to the aluminum foil, keeping it straight at all times. Let the wick cool on the aluminum foil in the freezer.
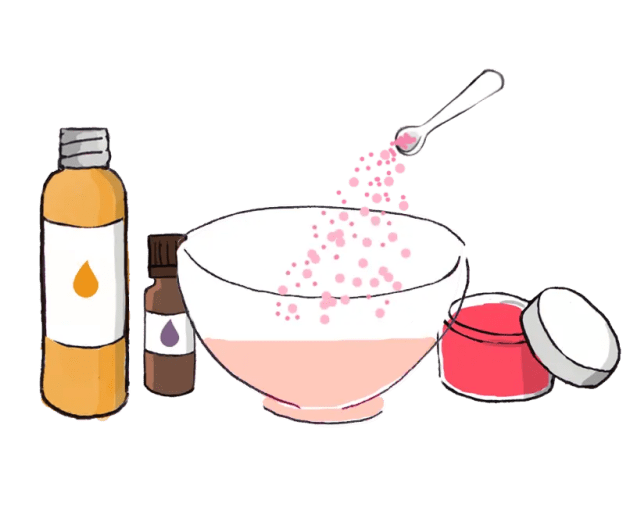
4 - Add the active ingredients
Add the vegetable oil(s) + colored oil macerates to the plant powders + essential oil(s) and/or fragrance(s) while the wax(es) is still liquid, then mix everything together using the mini whisk.
5 - Remove and trim the wick (If you don’t have a pre-waxed wick)
Remove the wick from the freezer, then peel it off the aluminum foil. It must be straight and stiff (if not, you’ll need to start over, remelt the wax, and resume at the wick priming step).

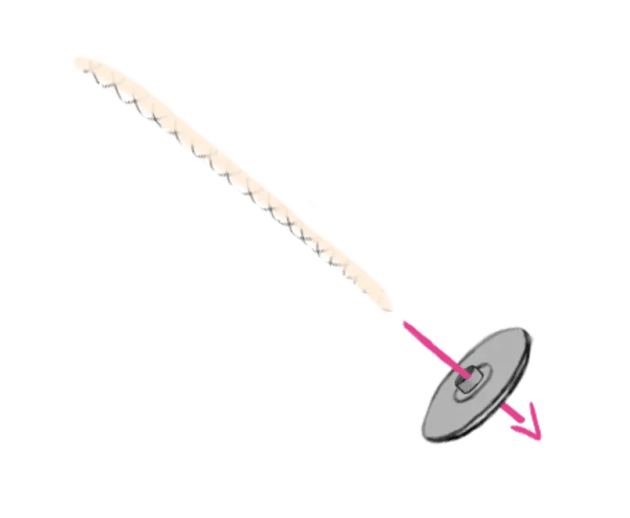
6 - Attach the wick to its base (if you don’t have a pre-waxed wick)
Place the wick into the hole in the metal base provided for this purpose, then pinch the base of the holder with pliers or a pair of scissors to secure the wick in place.

7 - Pour the mixture
Pour the mixture while it’s still cold (it should be paste-like but liquid enough to pour) into the candle jar or mold. Once the mixture is poured, immediately place the wick in the center, making sure the metal base touches the bottom of the jar or mold.

8 - Let the mixture harden
Let the mixture harden. To speed up the process, place the candle in the freezer for a few minutes.
Learn more