Facial massage: a self-massage routine for a radiant face

Combining massage and facial oil creates an ultra-effective routine for restoring radiant skin by combating imperfections such as dullness, acne, lack of tone and lack of radiance.

In this comprehensive article, expert facialist Sophie Carbonari shares her advice on how to choose the ideal facial oil for your skin type, and her expert tips for a successful facial massage.

By The Aroma-Zone editorial team

Reading time: 0 min.

What is a self-massage and what are its benefits?

Why use a facial oil for your facial self-massage?

By combining the right skincare oil with a facial self-massage, it is possible to restore the skin's metabolic state to optimum levels, helping to alleviate various skin problems such as acne, lack of firmness and lack of radiance.

Find our selection of massage oils and gels on Aroma Zone.

Step 1: Welcome ritual

Step 1

Stimulate your lymph nodes.

Place your thumbs under the outer corners of the jaw and at the top of the neck and make 3 circular movements from bottom to top.

Step 2

Apply your facial treatment oil.

Place your palms on your cheeks, press for a few seconds and release. Similarly, with one hand on your forehead and the other on your chin, press your palms against your face for a few seconds and release.

Step 2: Lymphatic drainage

Lymphatic drainage of the face stimulates the body's purification functions. By activating lymph circulation, you help the body to evacuate excess fluids and toxins, and so it helps to deflate the face and give it a glow.

Step 1

Contouring the jawline

Form a hook with your index fingers, starting at the hollow of your chin and working your way up along your jawline, pressing firmly.

Repeat this movement 3 times.

Step 2

Smooth nasolabial folds

Do the same a little higher up the cheek, starting at the corner of the mouth and working your way up to the ears.

Repeat this movement 3 times.

Step 3

Reshape the cheekbones

At the same time, reshape your cheekbones, starting at the bridge of your nose and working your way up firmly with a hook formed by your index fingers to your temples.

Repeat this movement 3 times.

Step 4

Relieve the temples

Make a gentle circular movement with your index and middle fingers on your temples.

Repeat this movement 3 times.

Step 5

Reduce frown lines

Place your hands between your eyebrows. Using your fingertips, gently pull the skin upwards, alternating hands.

Repeat this movement 3 times.

Step 6

Smooth out forehead wrinkles

Place the palms of your hands at eyebrow level and gently pull the skin upwards as far as the hairline.

Repeat this movement 3 times.

Stage 3: stimulation

With this stage, we work more deeply to work the muscles and mobilise the deep layers of the skin. The important thing to remember is to always work from the inside out and from the bottom up.

Step 1

Pinching around the face - part 1

Pinch the skin using the second phalanges of the index and middle fingers. The aim is to create pressure points between the two fingers for 1 to 2 seconds. The first pinch will be between the chin and the end of the nasolabial folds.

Repeat the movement 3 times.

Step 2

Pinching around the face - part 2

Using the same movements as above and finishing with a stretch towards the outside of the face, pinch the skin in the centre of the lower cheeks. Do the same at the corners of the mouth and cheeks. Finish with a final pinch at the cheekbones.

For each position, repeat the movement 3 times.

Step 3

Stimulate sagging cheeks

Apply the middle finger to the temples, place the thumb at the tip of the jaw and gently move the thumb upwards to stretch the skin upwards, pinching it slightly.

Repeat this movement 3 times.

Step 4

Smooth the corners of your eyes

Place your index and middle fingers on your temples. Press lightly and make a rolling movement between the fingers.

Repeat this movement 3 times.

Step 5

Raising the eyebrows

Take the peak of your eyebrow between your thumb and forefinger, and gently raise your eyebrow.

Repeat this movement 3 times, moving along the eyebrow to its tail.

Step 6

Pinching the frown line

Using your fingertips, gently pinch the frown line between the eyebrows for a few seconds.

Repeat this movement 3 times.

Step 7

Reduce forehead wrinkles

Make S-shaped movements on the forehead. Place the fingertips of your right hand on top, smoothing the skin to the right, and the fingertips of your left hand underneath, smoothing the skin to the left. Then alternate hands, keeping the same direction.

Repeat this movement 3 times.

Stage 4: Final drainage

This step will release the lymph nodes worked on and activate regeneration and oxygenation.

For this step, apply gentle pressure movements from the inside to the outside of the face. Start at the chin and work your way around the face.

This is a good time to take a deep breath to relax and enjoy the moment.

Finish by gently pressing the lymph nodes just below the tip of the jaw on the neck.

Find out more

Gua Sha, Jade Roller: how to use these accessories?

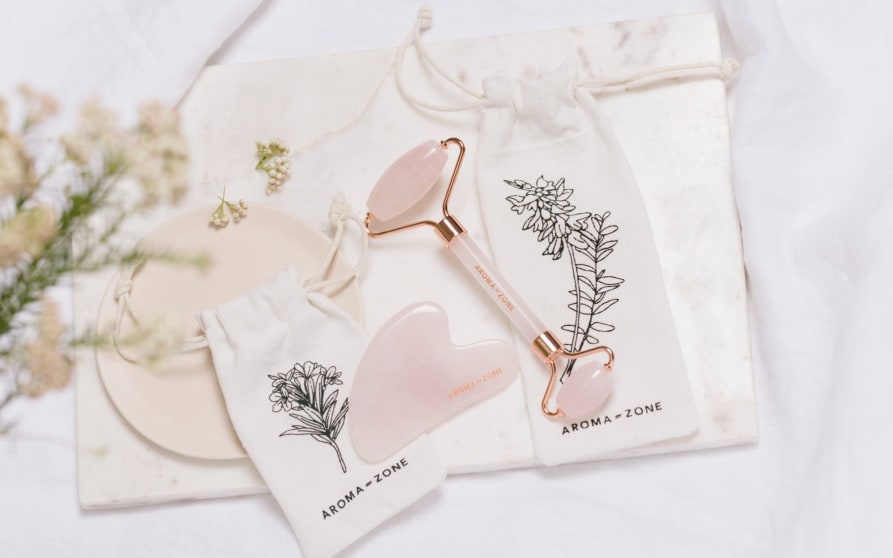
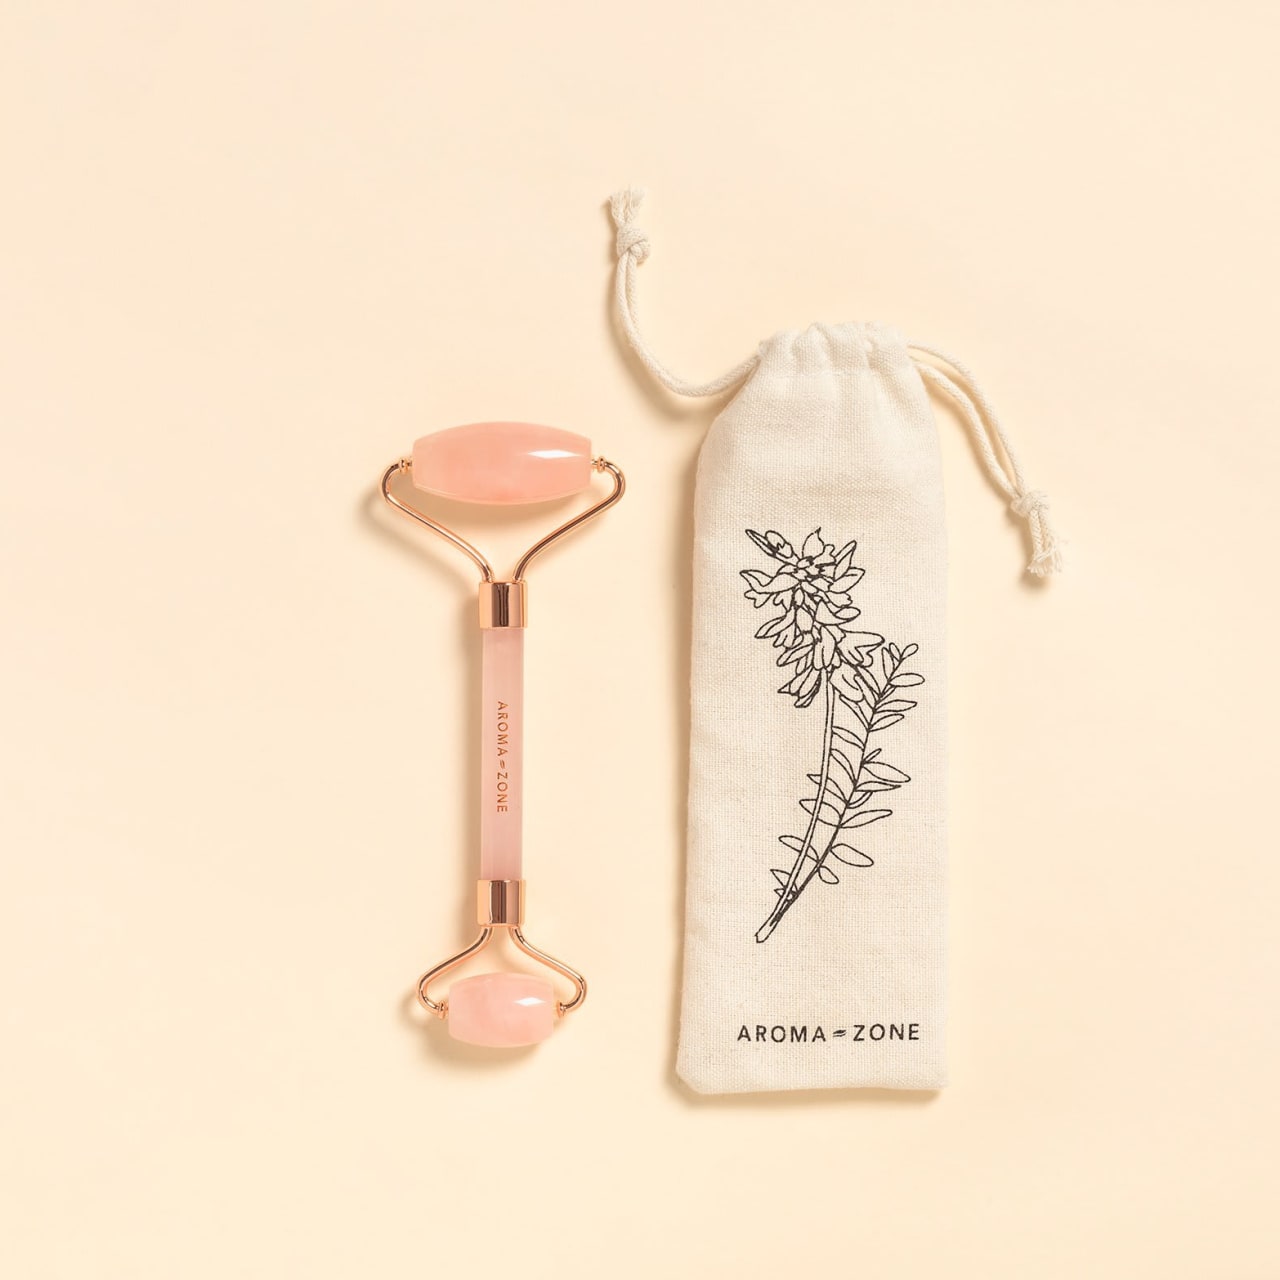
Using the Jade Roller:

For people who are new to accessories, we recommend using the Roller, which makes the movements easier. It is ideal for people who want to perform a quick self-massage of the face.
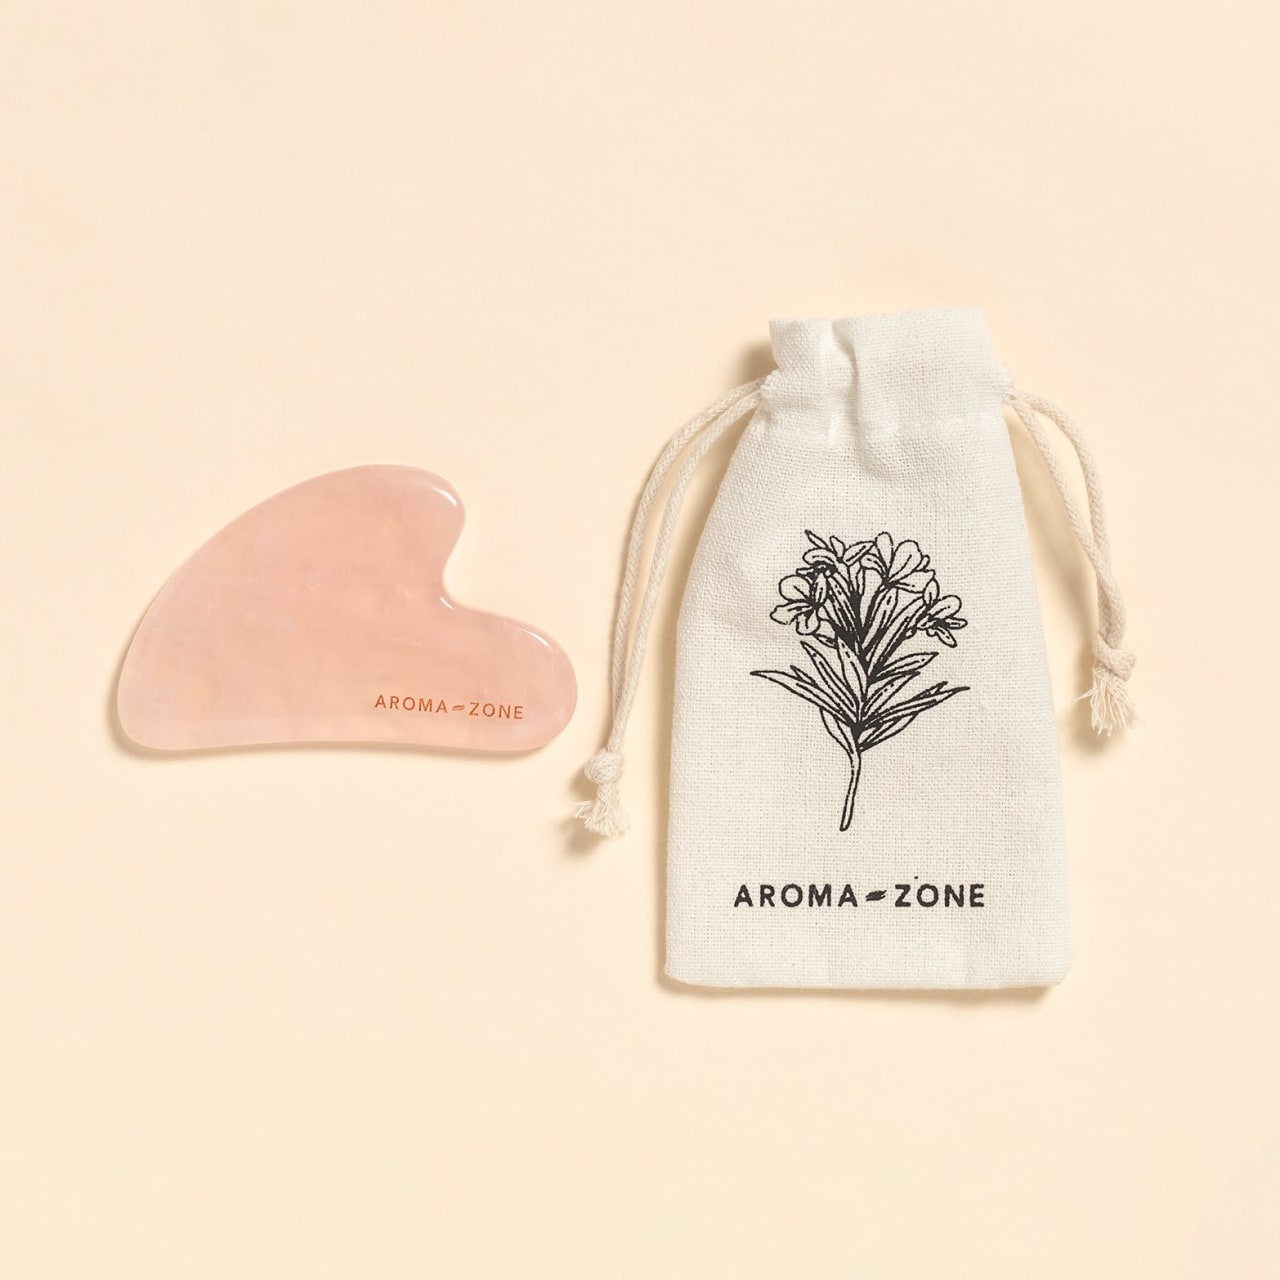
Using the Gua Sha:

The video above explains exactly how to perform a facial self-massage. The Gua Sha allows you to reach deep down to relieve tension in the face.

What is Mewing?

Mewing is a facial gymnastics technique designed to reshape the facial contour. It has gained popularity thanks to social media, as a non-invasive alternative to cosmetic surgery. To find out more, read our dedicated article.

What is a jawline?

Jawline fillers are an aesthetic medicine method that corrects the jawline or facial contour using hyaluronic acid injections. Read our dedicated article on Aroma Zone.