Removing semi-permanent nail varnish: our effective methods

Removing semi-permanent nail varnish: our effective methods


By Coralie Techer

Published on: Wednesday, October 25, 2023, Updated on: Monday, November 09, 2026

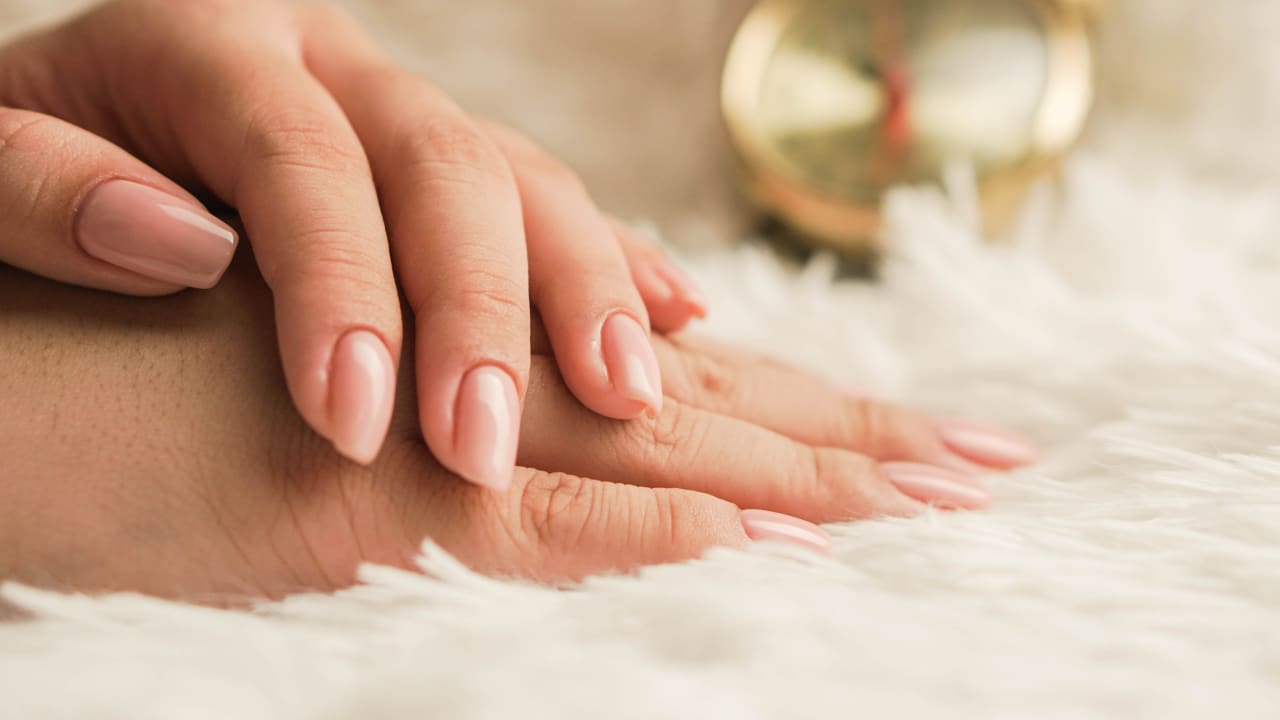
Semi-permanent nail varnish has become a must-have when it comes to nail beauty. It must be said that its long-lasting wear, unrivalled shine and flawless finish make it a popular choice for those seeking a long-lasting and flawless manicure. However, as with all types of nail varnish, semi-permanent polish eventually needs to be removed effectively to maintain the health of your natural nails. In this article, we’ll take an in-depth look at the best way to remove semi-permanent nail varnish, focusing on the methods, products and equipment needed for a hassle-free experience.

Contents

Related products

What is the difference between semi-permanent nail varnish and standard nail varnish?

It’s essential to understand the difference between semi-permanent nail varnish and traditional nail varnish. Semi-permanent nail varnish is a formula that is cured under a UV or LED lamp for long-lasting wear. Unlike traditional nail varnish, semi-permanent varnish does not chip easily and can last up to three weeks without losing its shine or colour. It’s the ideal application technique when going on holiday, for example. 

It’s also worth noting that the process of applying semi-permanent nail varnish is slightly more complex than that of traditional nail varnish. It involves applying a base coat, one or more coats of semi-permanent nail varnish and a top coat. Each coat must be cured under the UV lamp to ensure perfect adhesion and a flawless finish. However, this increased durability means that removing semi-permanent nail varnish also requires a different approach.


A closer look at how semi-permanent nail varnish is applied

Before going into detail about the removal process, it’s worth understanding how semi-permanent nail varnish is applied. Here are the six basic steps for applying semi-permanent nail varnish:

  1. Preparing the nails: Start by cleaning and lightly buffing the nail surface to remove impurities and create a smooth base.

  2. Applying the base coat: Apply a thin layer of base coat specifically designed for semi-permanent nail varnish. This layer will act as a bond between the natural nail and the semi-permanent nail varnish.

  3. Applying the semi-permanent polish: Apply one or more coats of semi-permanent polish in the colour of your choice. Ensure you apply thin, even coats for the best results.

  4. Curing under a UV/LED lamp: Each coat of semi-permanent nail varnish must be cured under a UV or LED lamp for a certain amount of time. Follow the manufacturer’s instructions for the correct curing time.

  5. Applying the top coat: Once the polish is cured, apply a top coat to seal the colour and add shine.

  6. Final curing: Place your nails under the UV/LED lamp to cure the top coat and achieve a flawless finish.

As we’ve already mentioned, semi-permanent nail varnish offers exceptional staying power, but there comes a time when you’ll need to remove it to change the colour or due to regrowth.

Removing semi-permanent nail varnish: the removal method

Removing semi-permanent nail varnish is an essential step to avoid damaging your natural nails. Here’s how to do it properly:

What you’ll need

To remove semi-permanent nail varnish, you’ll need acetone or a remover specially formulated for semi-permanent nail varnish, cotton pads, foil (or aluminium foil) and a boxwood stick.

Preparation

Start by lightly filing the surface of your nails to remove the top layer of the top coat. This will allow the remover to work more effectively.

Soak the cotton pads 

Dip the cotton pads in acetone or a suitable nail varnish remover, then place them on each of your nails.

Use foil wraps

To keep the cotton pads in place, wrap them in foil or aluminium foil and mould around your finger. This creates an airtight environment which helps to soften the semi-permanent nail varnish.

Leave to work

Leave the cotton pads and foil wraps in place for around 10 to 15 minutes. The semi-permanent nail varnish will start to peel away from the nail.

Remove the semi-permanent polish

Once you’ve waited long enough, gently remove the cotton pads and foil wraps. Use the boxwood stick to gently scrape away any remaining semi-permanent polish. Take great care not to damage your natural nails.

Moisturising

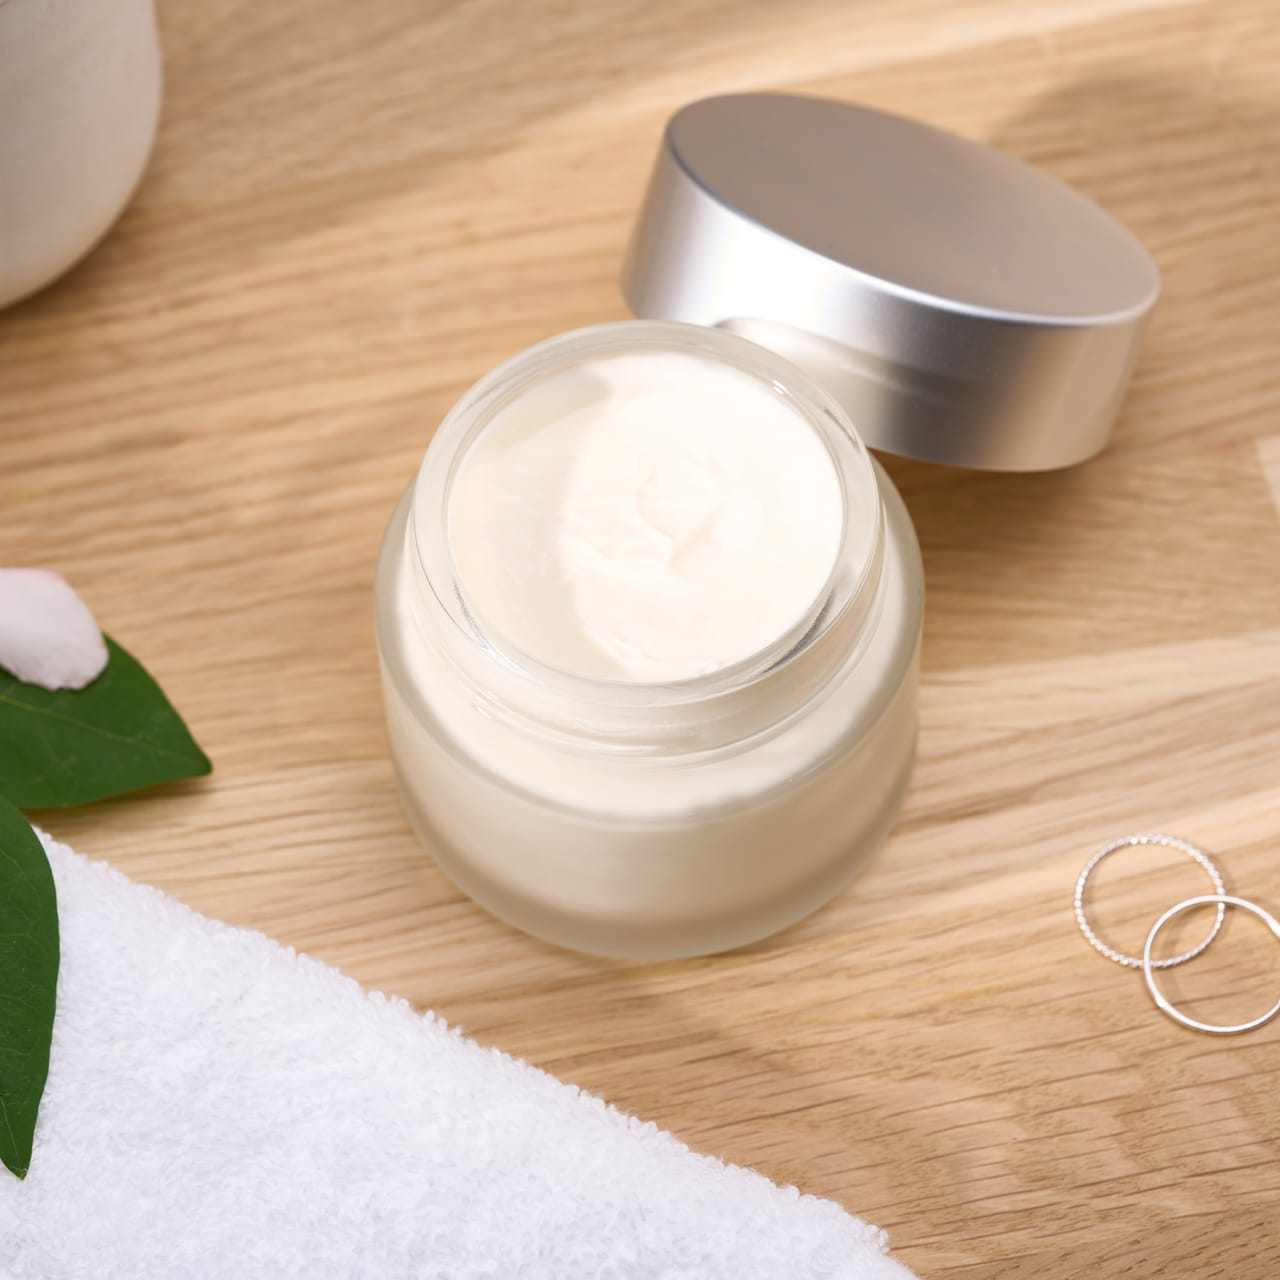
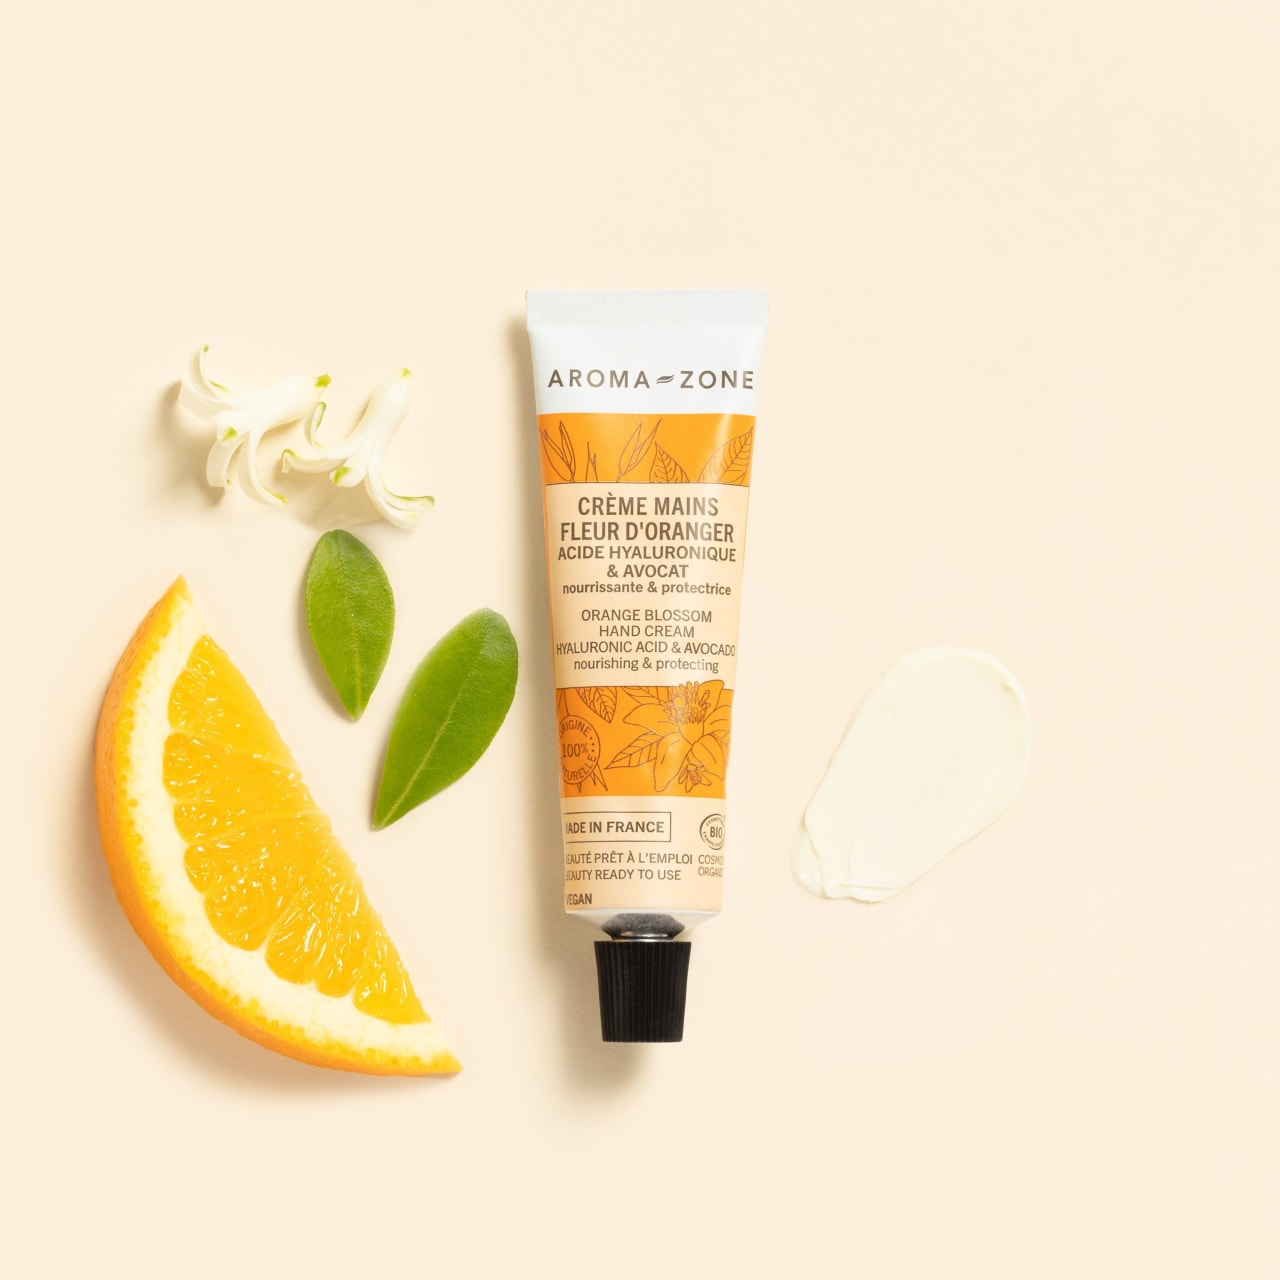
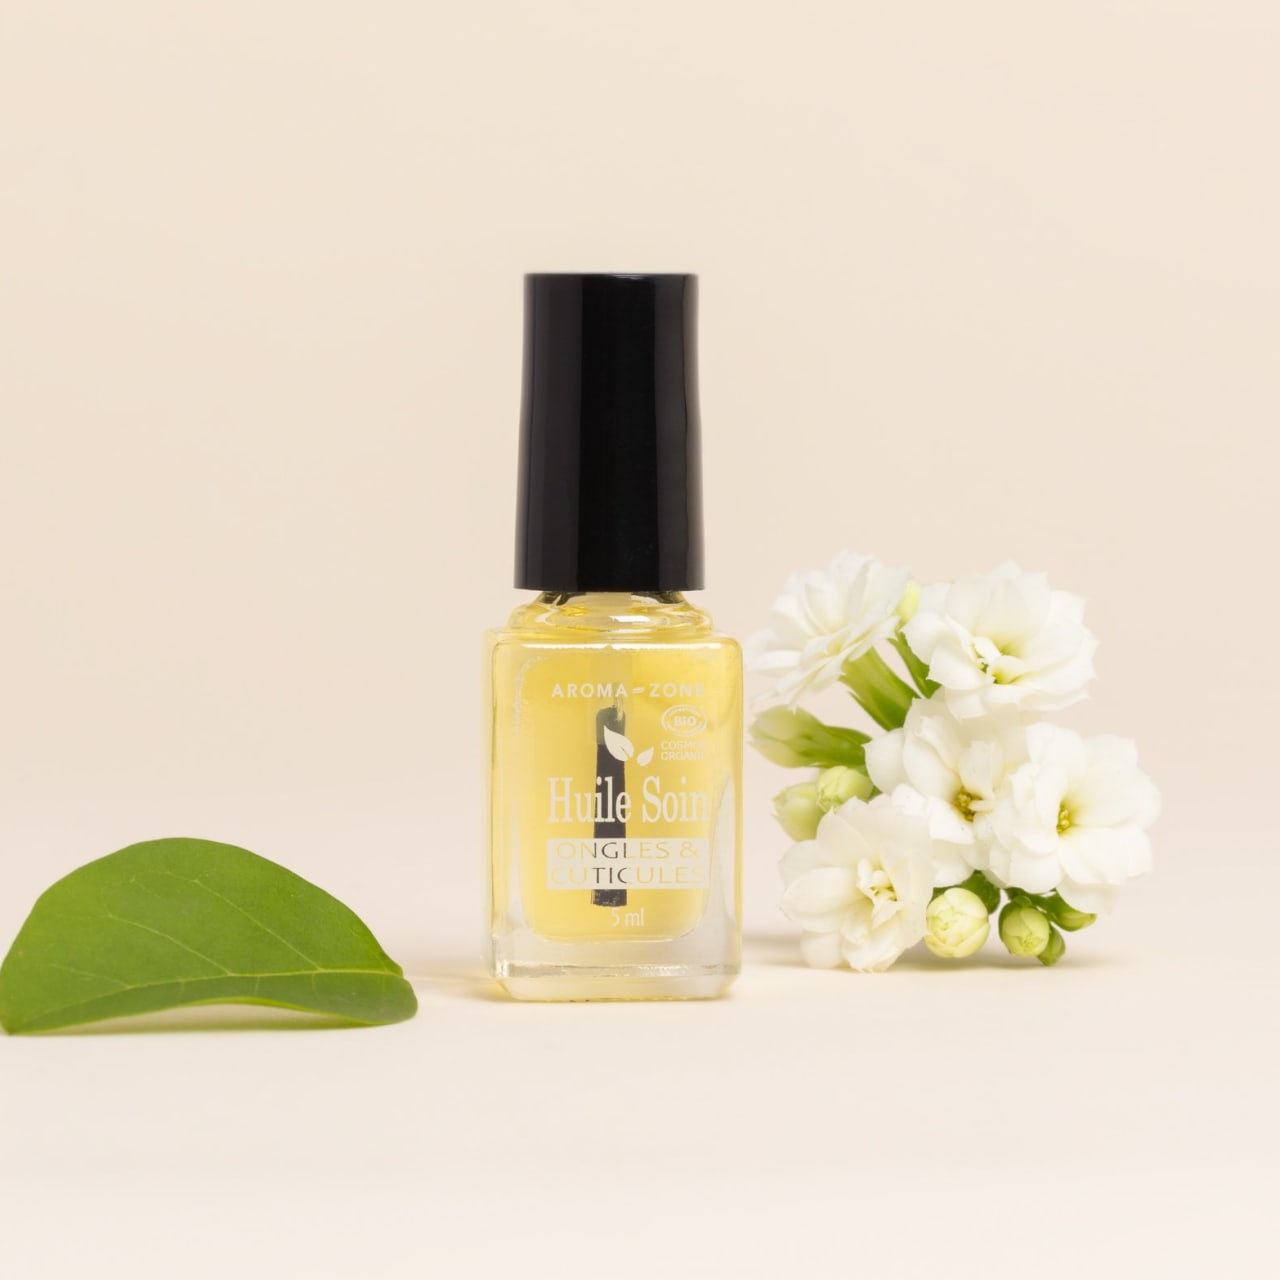
Once you have removed the semi-permanent polish, it is essential to moisturise your nails and cuticles. Use a high-quality moisturising cream to nourish your nails and keep them healthy. 

Choosing a nail varnish remover: the importance of quality

When removing semi-permanent nail varnish, it is crucial to choose the right remover. High-quality removers are specially formulated to effectively dissolve semi-permanent nail varnish without damaging your natural nails or drying out the surrounding skin.

Look for products from reputable brands that guarantee gentle and effective removal of semi-permanent nail varnish. These high-quality removers are often gentler on the skin and nails, whilst being more effective at removing the varnish.

What are the alternatives to acetone?

If you’d prefer to avoid using acetone, there are acetone-free removers specifically designed to remove semi-permanent nail varnish. These products are gentler on your nails and skin, but they may take a little longer to completely dissolve the varnish. So, whilst you have to choose between saving time and being kind to your skin and nails, the choice is still a no-brainer.

Removing glittery semi-permanent nail varnish… is it a complicated business?

Glitter semi-permanent nail varnish can be more difficult to remove due to the glitter particles that cling to the nail. To remove glitter semi-permanent nail varnish, follow the same removal method described above, but allow a little more time for the acetone or gentle nail varnish remover to take effect.

One tip is to dab the glitter polish with a cotton pad soaked in acetone, then wrap the nail in aluminium foil. Leave it for at least 15 minutes to allow the remover to soften the glitter, making it easier to remove.

Summer and semi-permanent nail varnish

Summer is the perfect season to show off colourful and shiny nails, and semi-permanent nail polish is the ideal choice to withstand summer activities. However, the sun, sand and sea water can affect how long even semi-permanent polish lasts. To make your manicure last longer, here are a few tips:

Use a high-quality top coat: A top-quality top coat can help protect your semi-permanent polish from UV rays, chlorine and salt water.

Apply an extra layer of top coat after a week: To refresh your manicure and boost protection, add a new layer of top coat one week after the initial application.

Wear gloves for outdoor activities: If you’re planning to spend a lot of time at the beach or the swimming pool, wear gloves to protect your nails and polish.

Moisturise your nails and cuticles: Exposure to the sun and water can dry out your nails. Use a moisturising oil or cream regularly to keep them healthy.

Avoid abrasive activities: Try to minimise activities that could damage your nails, such as gardening, washing up or heavy housework.

In conclusion, semi-permanent nail varnish offers an elegant and long-lasting solution for flawless nails, but it is important to know the correct method for removing it. By following the correct removal steps, choosing a high-quality nail varnish remover and taking good care of your nails in general, you’ll be able to make the most of your semi-permanent manicure whilst keeping your natural nails healthy. So, don’t hesitate – enjoy the colours and glossy finishes offered by semi-permanent nail varnish all year round.

Spotlight on our expert writer: Coralie Técher

Coralie Técher

Coralie has been a journalist and editor specialising in women’s interests for seven years. With a particular interest in topics related to beauty and wellbeing, she is committed to highlighting the solutions offered by nature for self-care and is always keen to stay informed on the subject so she can share the very best insights. 

Photo: Unsplash

Frequently Asked Questions

Frequently Asked Questions